Watch the Video Tutorial
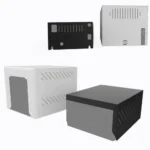
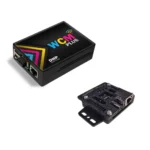
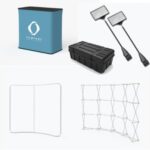
What’s Included in the Printio Module Kit
- USB to LAN Adapter
- LAN Cable
- Power Connection Cable
What You’ll Need
- An iPad (ensure you have the correct cable: USB-C or Lightning).
- A USB hub compatible with your iPad.
Step-by-Step Setup Guide
Step 1: Connect the LAN Cable
- Plug one end of the LAN cable into the USB to LAN Adapter.
- Connect the other end of the LAN cable to the LAN port on the Printio Module.
Step 2: Set Up the USB Hub
- Attach your USB hub to the iPad using the appropriate cable (USB-C or Lightning).
- Plug the USB to LAN Adapter into the USB hub.
Step 3: Power the Printio Module
- Connect the power cable to the Printio Module.
- Plug the other end of the power cable into a power outlet or power strip.
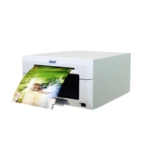
Step 4: Connect the Printer
- Use the printer’s USB cable.
- Plug the USB-A end of the printer cable into an available port on the Printio Module.
Configuring Your iPad
- Open Settings on your iPad.
- Verify the Ethernet connection under network settings.
- Switch to Manual IP Configuration:
- Enter the IP address and Subnet Mask provided in the manual.
- IP Address: 192.168.10.99
- Subnet Mask: 255.255.255.0
- Save the settings.
- Enter the IP address and Subnet Mask provided in the manual.
Testing the Connection
- Open a browser on your iPad and go to
printio.local. - Confirm the printer is recognized and correctly configured.
- Perform a test print to verify functionality.
Printing Photos
- Open the photo you want to print from your gallery.
- Tap the Share button and select Print.
- Choose your printer and select the desired size (e.g., 4×6 or 2×6 strips).
- Tap Print to start printing.
Troubleshooting
If you experience issues:
- Check all connections are secure.
- Confirm the iPad is recognizing the Ethernet connection.
- Ensure the printer driver is correctly configured
Please follow our Printio Troubleshooting step guide below:
Printio-Troubleshooting-Guide: https://ataphotoboothsstagingsite.com/how-to-fix-common-issues-on-printio/