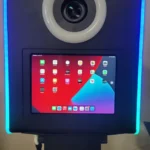
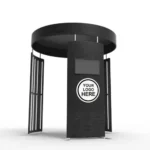
How to Insert Your iPad into the E1000 Photo Booth
Step-by-Step Instructions
Step 1: Loosen the Center Screw
- Insert a screwdriver through the middle of the handle and loosen the screw.
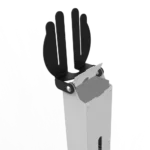
Step 8: Align the iPad
- Ensure the iPad is centered properly, not too close to the top or bottom.
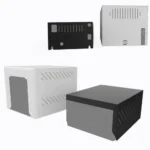
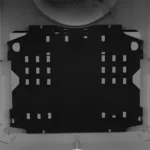
Step 2: Remove the Back Plate
- Once the screw is loosened, remove the back plate from the photo booth.
Step 9: Reattach the Bracket
- Place the bracket back over the iPad and align it with the screw holes.
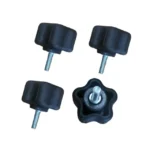
Step 3: Loosen the Wing Nuts
- Loosen and remove the wing nuts from all four corners of the bracket.
Step 10: Secure the Wing Nuts
- Reattach and tighten all four wing nuts to secure the bracket.
Step 4: Remove the Bracket
- After removing the wing nuts, lift the bracket out of place.
Step 11: Close the Back Plate
- Before closing, tuck in any loose wires to prevent pinching. Then, align and secure the back plate.
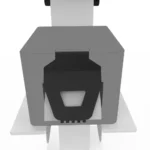
Step 5: Position the iPad
- Place the iPad on the faceplate, ensuring the charging port is at the bottom and the front camera aligns with the cutout.
Step 12: Final Adjustments
- Wiggle the back plate to ensure it’s secure. Check the front to make sure the iPad is properly aligned.
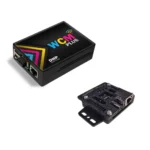
Step 6: Route the Charging Cable
- Route the USB-C or Lightning cable through the bottom bracket before laying the iPad flat.
Step 13: Tighten the Center Screw
- Insert the screw through the middle and tighten until snug.
Step 7: Plug in the Charger
- Plug the charging cable into the iPad before placing it flat.
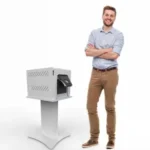
Step 14: Ready to Use
- Your iPad is now securely installed in the E1000 photo booth. Place it on the stand and start using it!
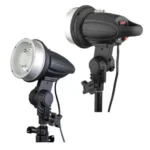
Once configured, your LED lights are ready to use. Customize them as desired and enjoy your enhanced photo booth experience. If you have any questions, feel free to contact us.